2013 maintenance:
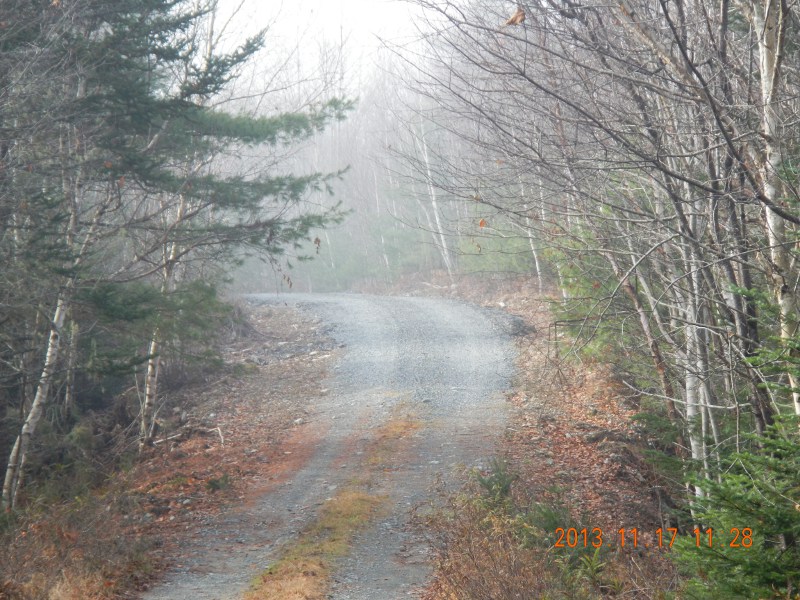
The residents did some woods work to clear back from the road surface. We agreed that we should make the clearing wider - at least 8 to 10 feet back from the edge of the road surface.
We note that the right-of-way is a 66 feet wide. The single lane sections of road are about 14 feet wide. We could clear back about 25 feet from the edge of road surface on each side (33 feet from the centre line) and still be within our right-of-way.
Some of us noticed that one part of the road is washing out more than others. It is on a hill. We call it the wash hill in the maps. We did some woods work clear into a ditch on each side of the road at the top of the hill; mostly so we can see the ditch and discuss with our contractor. We also did a large section of clearing between the road edge and the far side of the ditch starting at the bottom of the hill and running most of the way to the top. We may likely finish that ditch on the east side of the road sometime this year. We are discussing the approach to upgrade that piece of road on the wash hill and all suggestions are welcome.
All that machine work starts with just-plain work clearing trees along the shoulder with chain saws. We know of at least one dedicated guy who would rather do that in the rain than the bugs - now that's a maritime Canadian eh!
Stay tuned to this spot for an update on the work we did in 2013. More pictures coming soon.
Our contractor did another outstanding job this year and we made good progress. We extended our re-surfacing about 750 feet (230 m) further north. We crossed a low wet area adding elevation to the road surface with gravel and we graded the shoulder over another short wet stretch further north from the end of the new surface. We didn't make it to the gravel pit - oh so close.
This photo shows the place where the 2012 ended and the 2013 work began. Spot the boundary where the top-coat gravel on the new (2013) work is a lighter shade. We took this picture during the construction.

This next photo shows the shale interrupted over a wet land section where we used gravel instead.
This photo below shows the work in progress. This is what it looks like with just shale before the top-coat of class A gravel. You can see the graded shoulder for drainage and the elevation of the shale layer. The new layer is thicker in some places than others to get drainage and cover bumps and hollows.
Here is another photo showing the end of this years (2013) work. The view is looking south as we drive in the road and come upon the new road surface. You can see the shoulders are graded back to the ditch on either side beyond the end of the new surface. This was a bit of a low gully in earlier times; but, it was dry when other parts were wet on the 17th of November, 2013.

